In the hustle and bustle of Summer on the homestead, my creative endeavors fall to the wayside. But my passion for creating art with threads and nature's beauty isn't forgotten. All Spring and Summer, I focus on growing, foraging, and preserving dyes for the cool days of Fall and Winter. When I unleash nature's magic into the dye cauldrons to adorn yarns and fabrics.
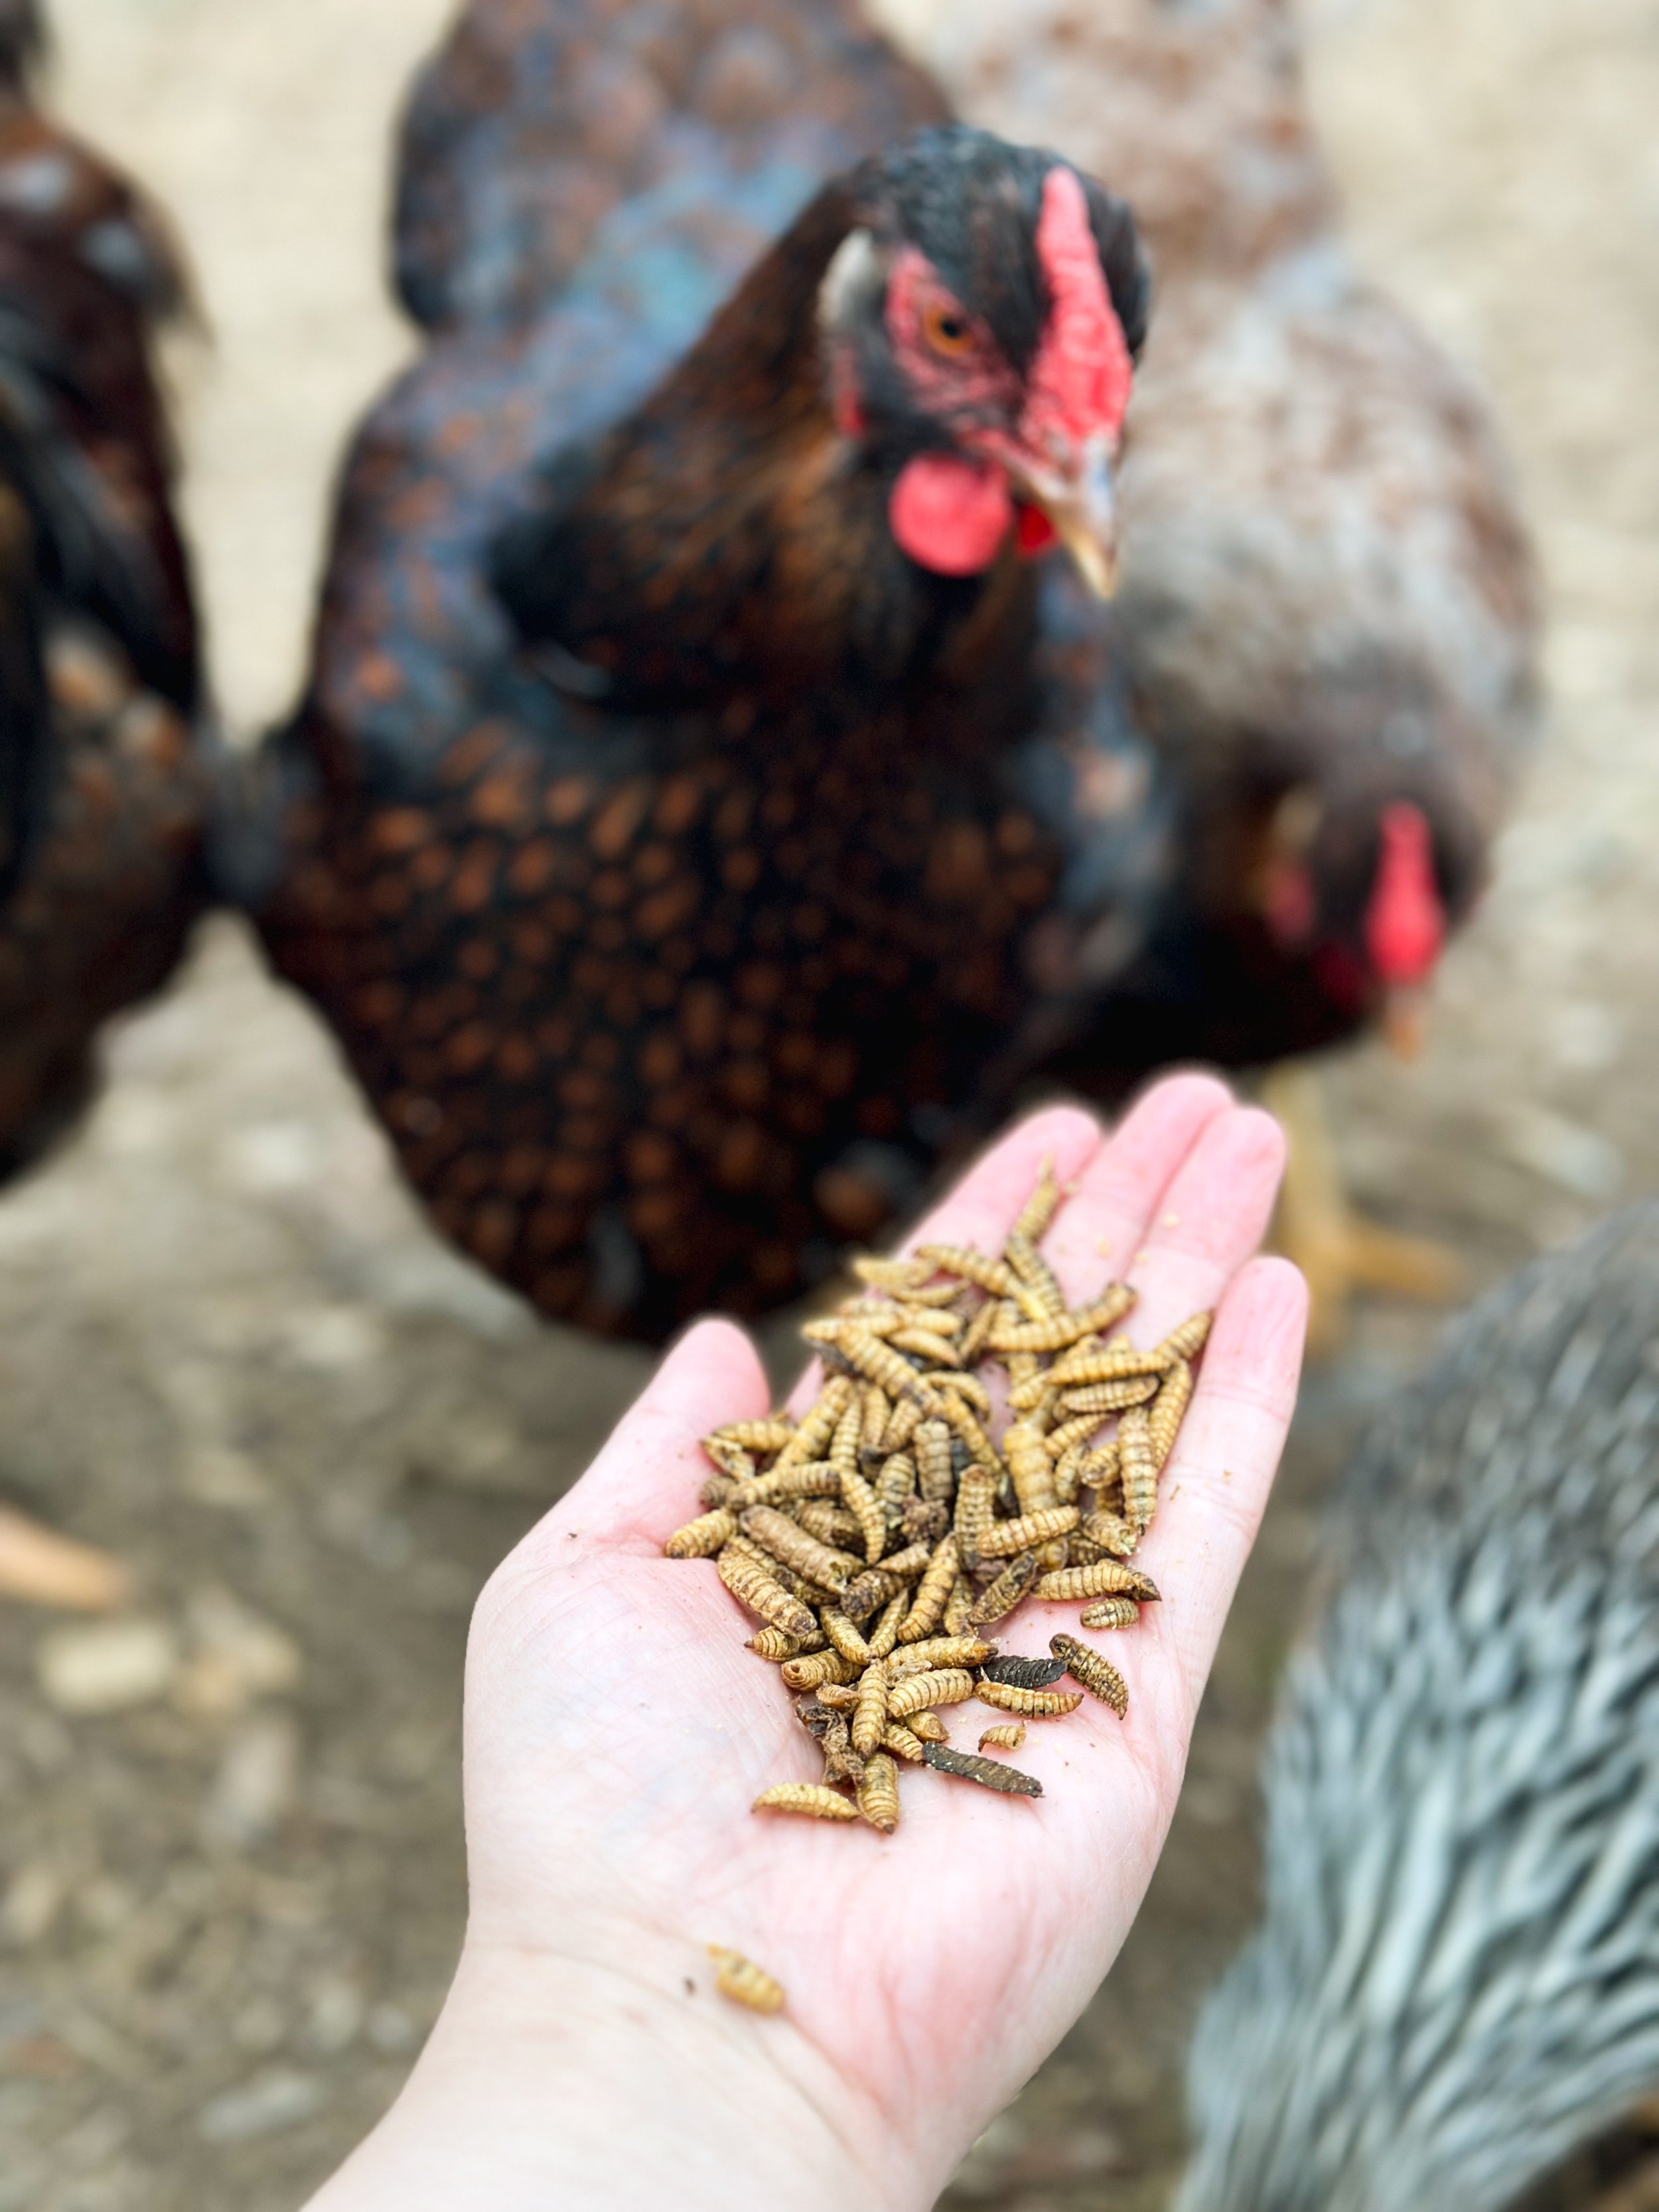
Summer's warmth brings a flurry of activity to our homestead. Days are filled with tending to crops, caring for animals, and embracing the vibrant colors of the season. The sun bathes everything in its golden glow, but amidst the chaos, my longing to create never wanes.
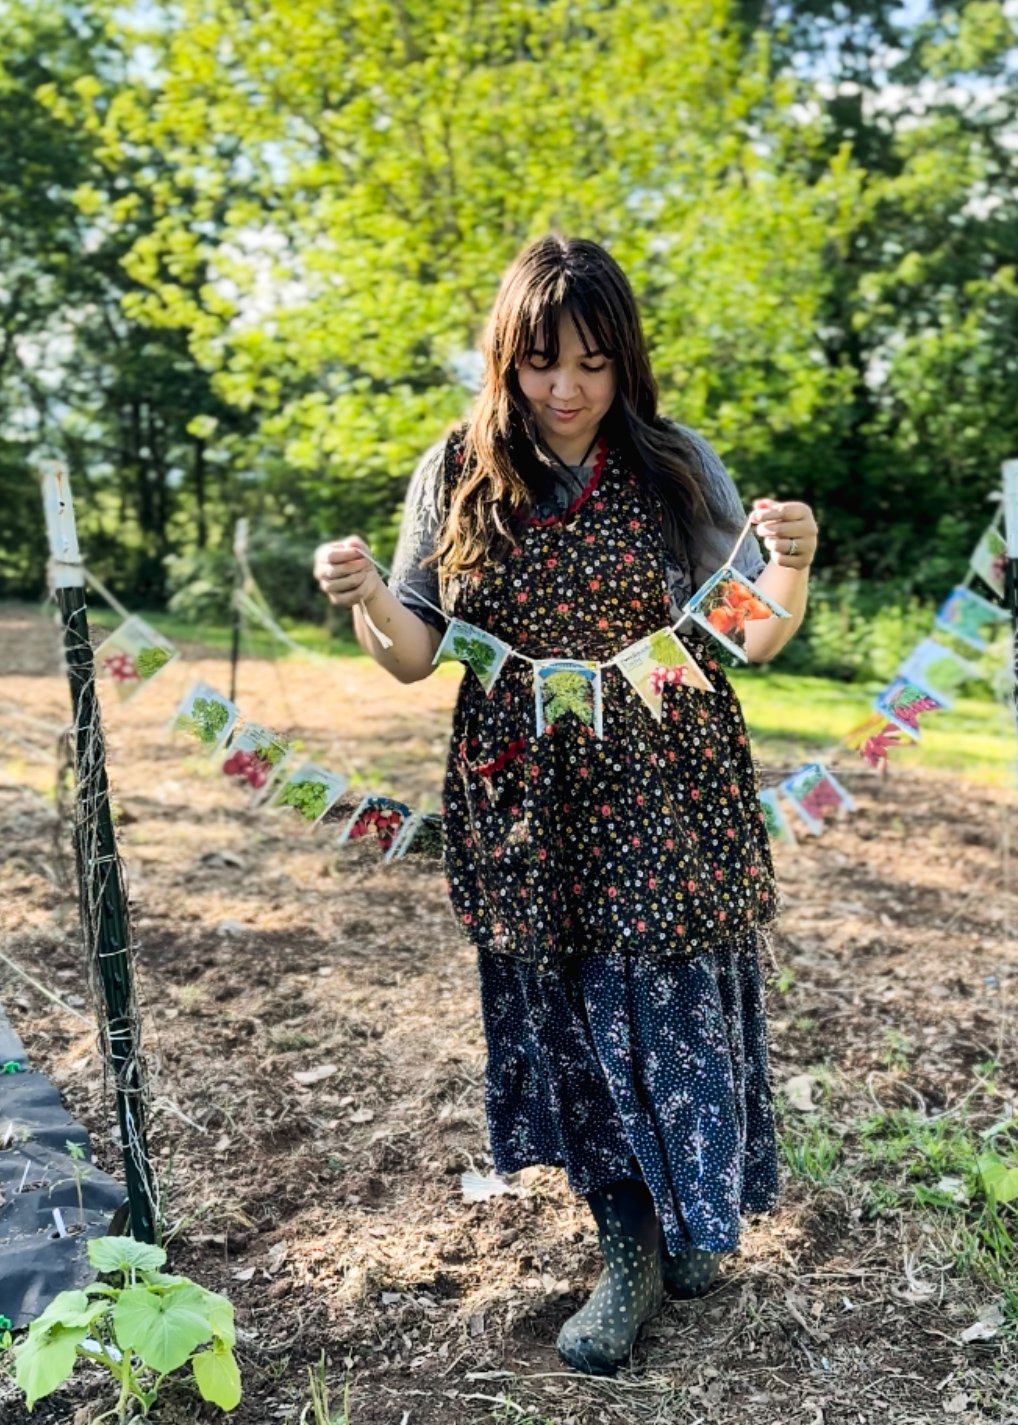
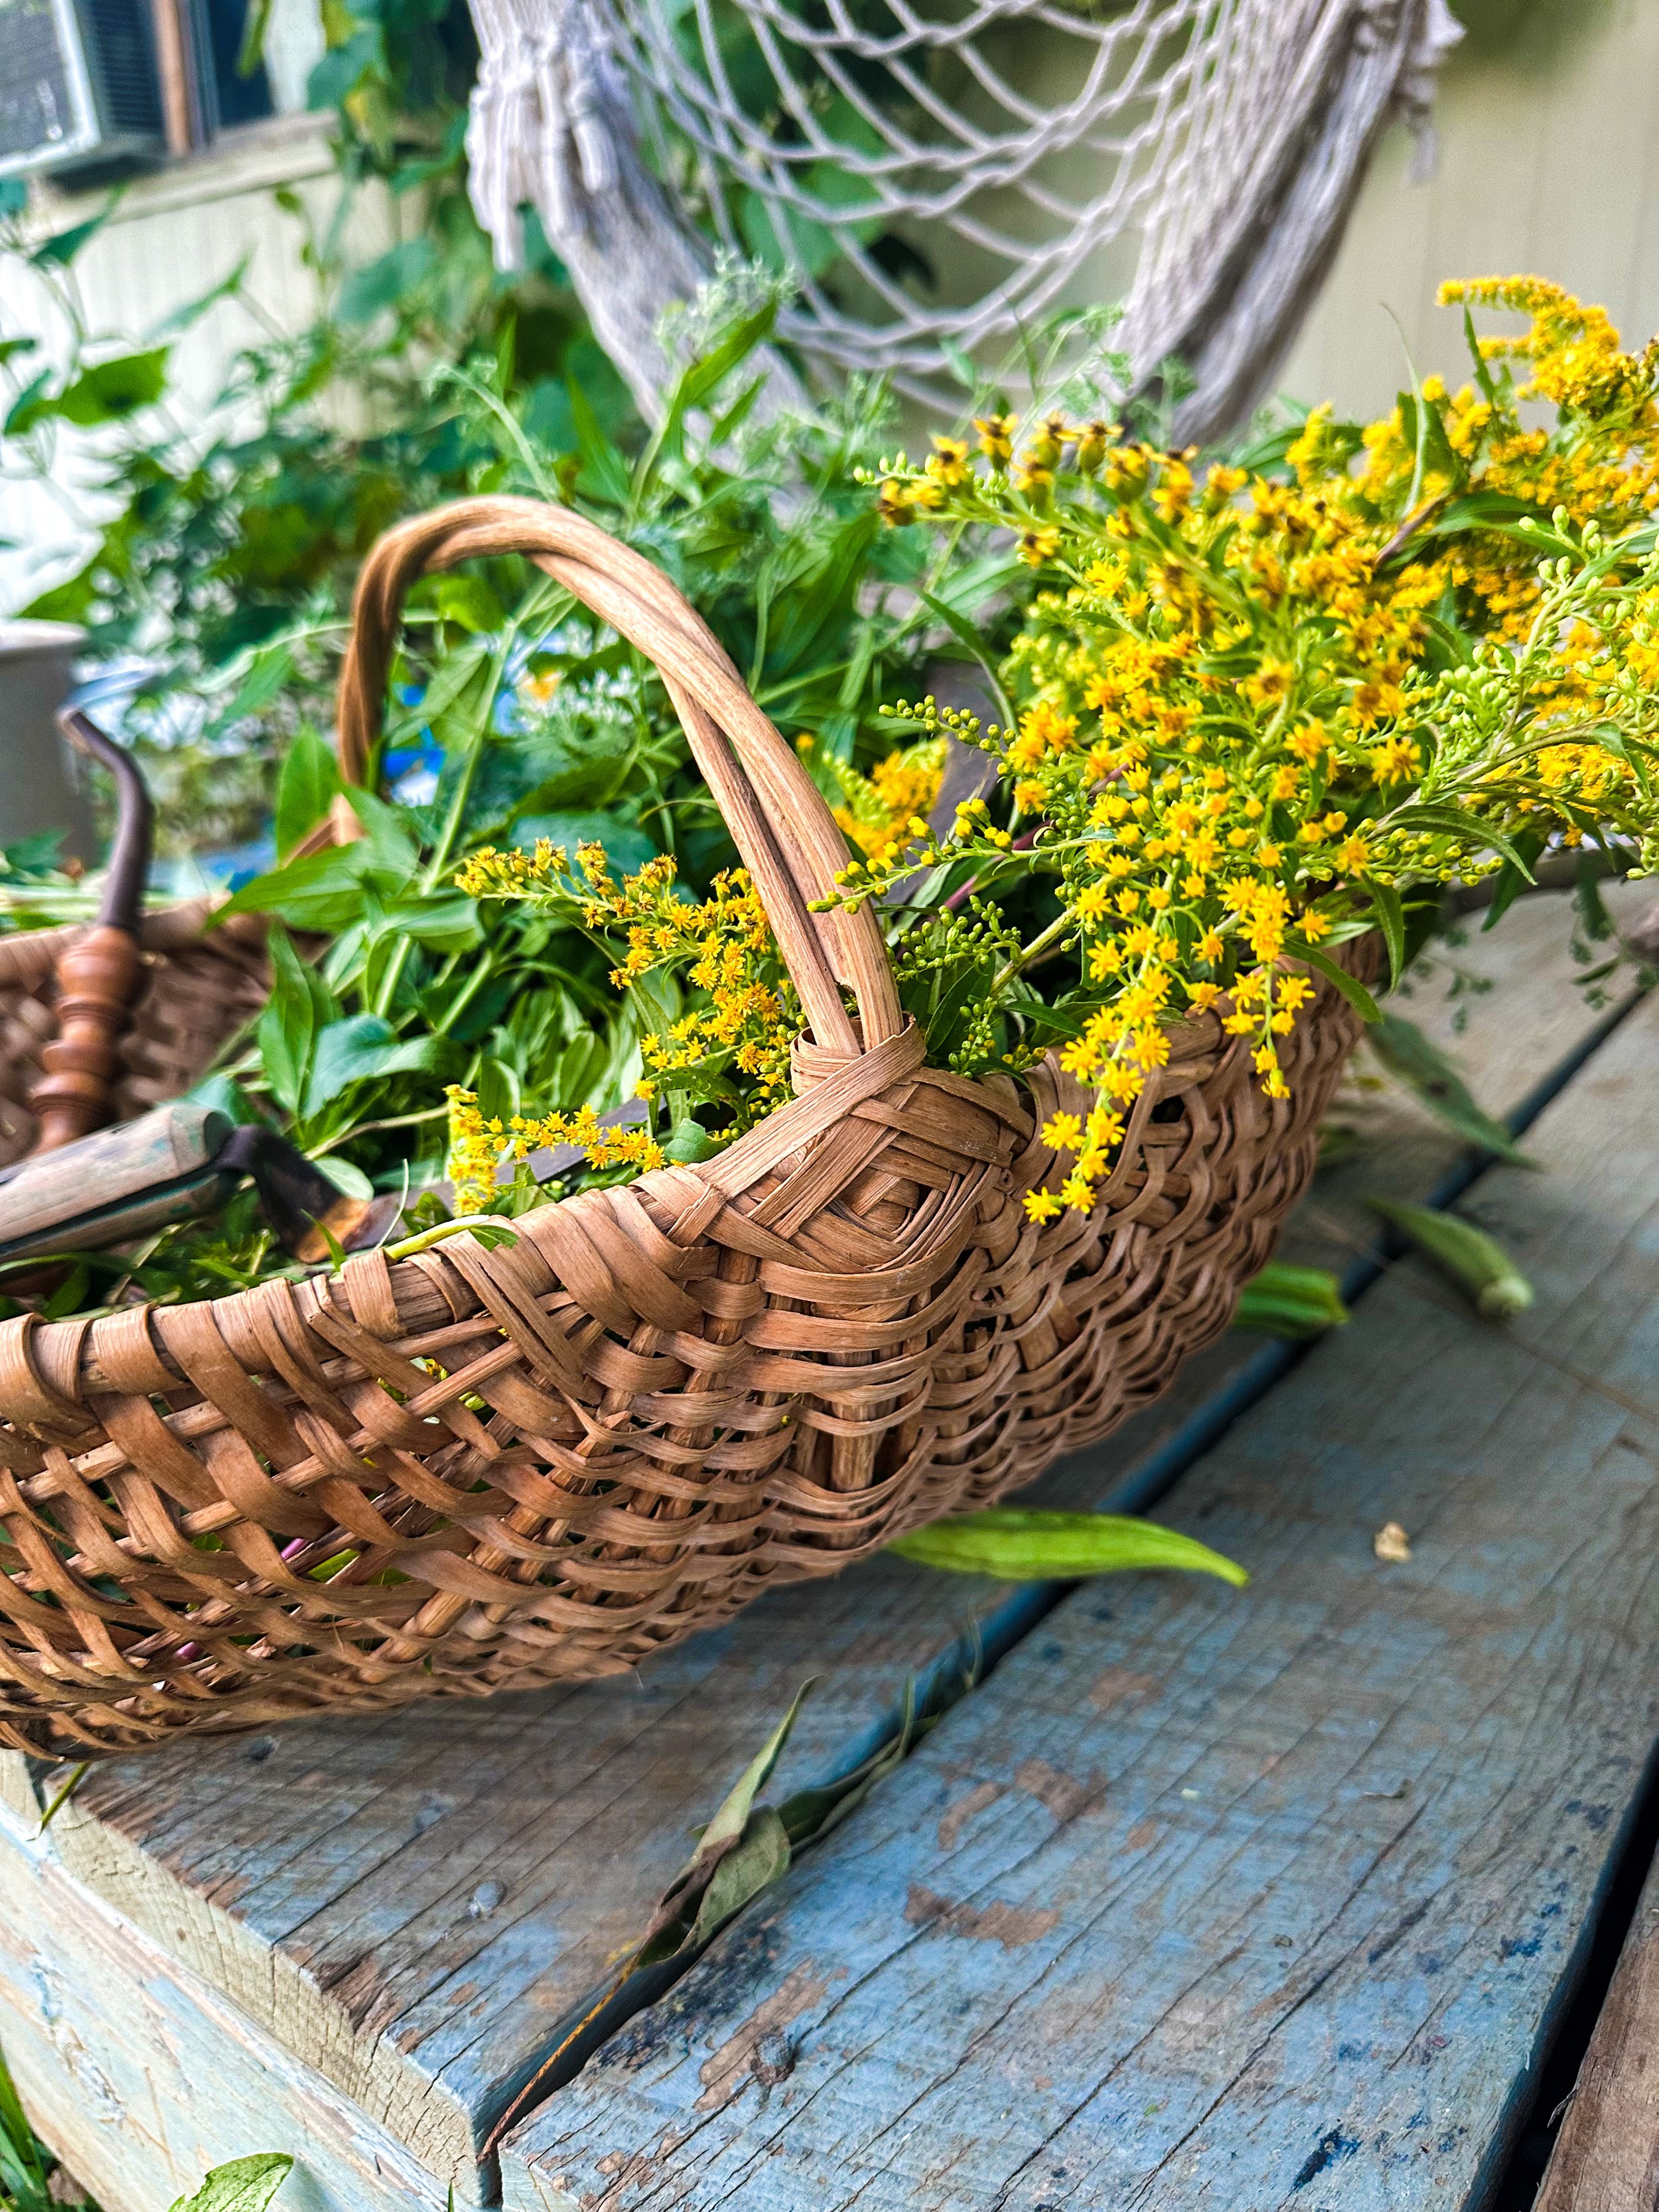
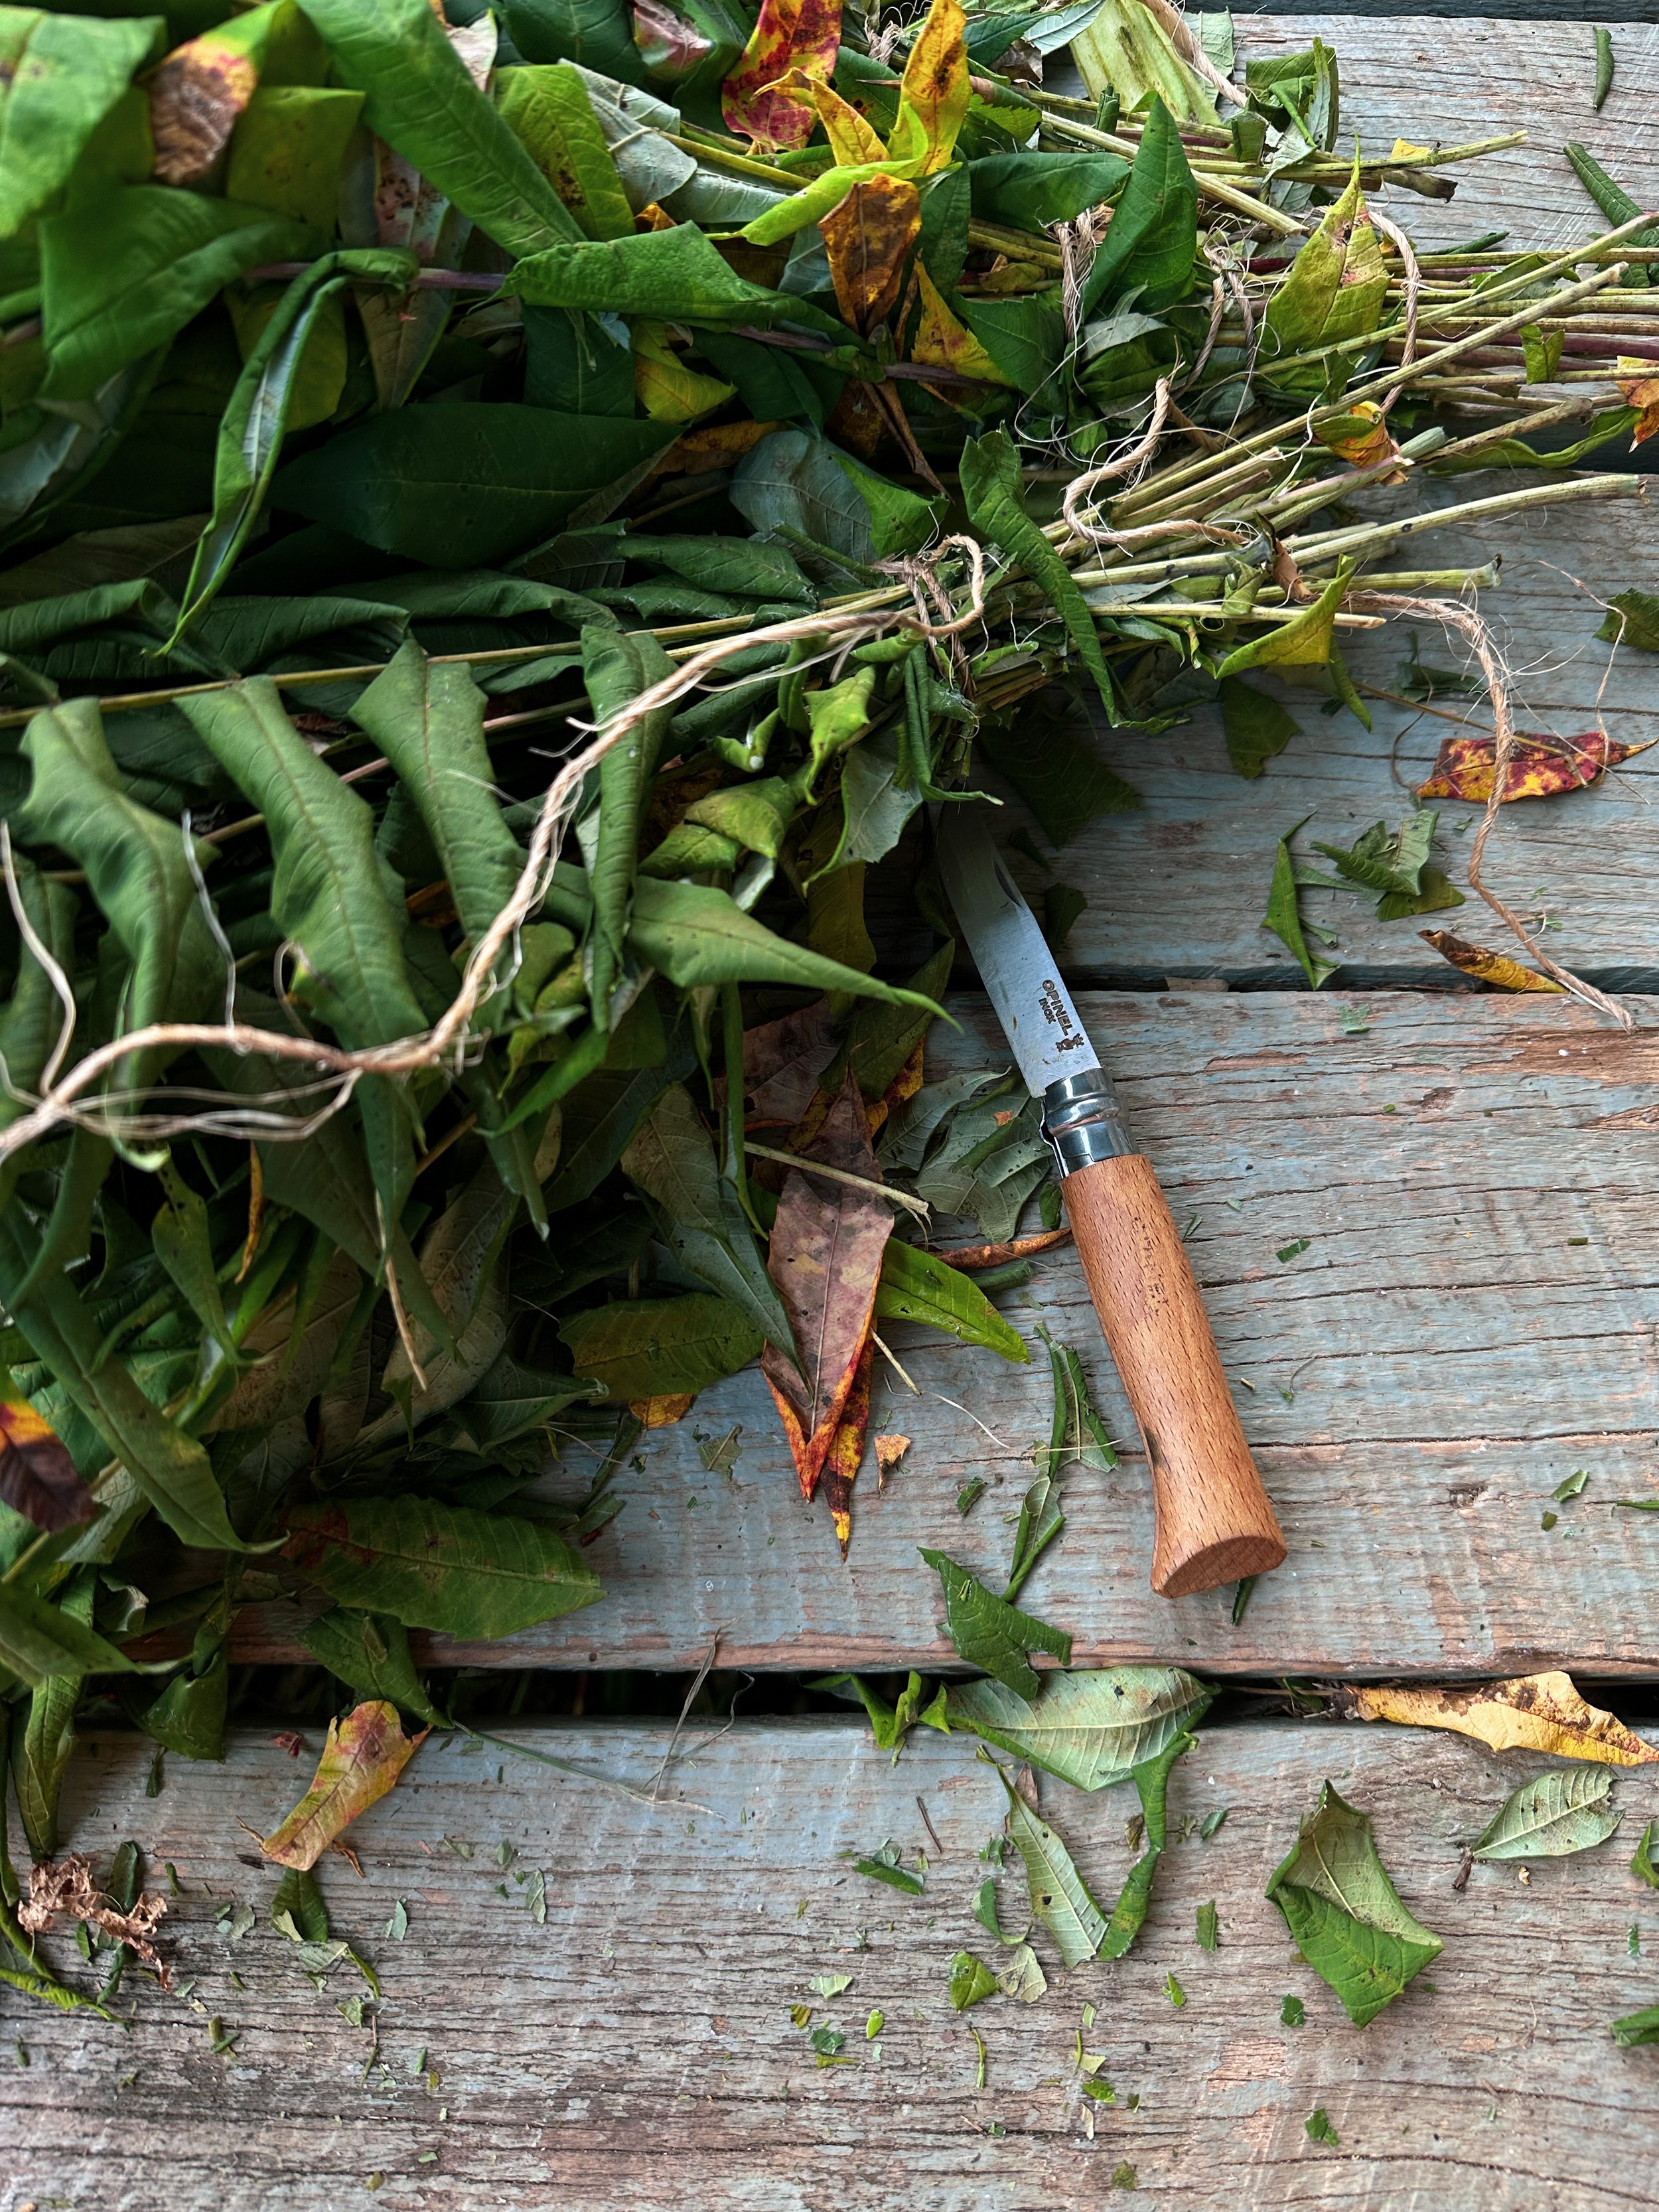
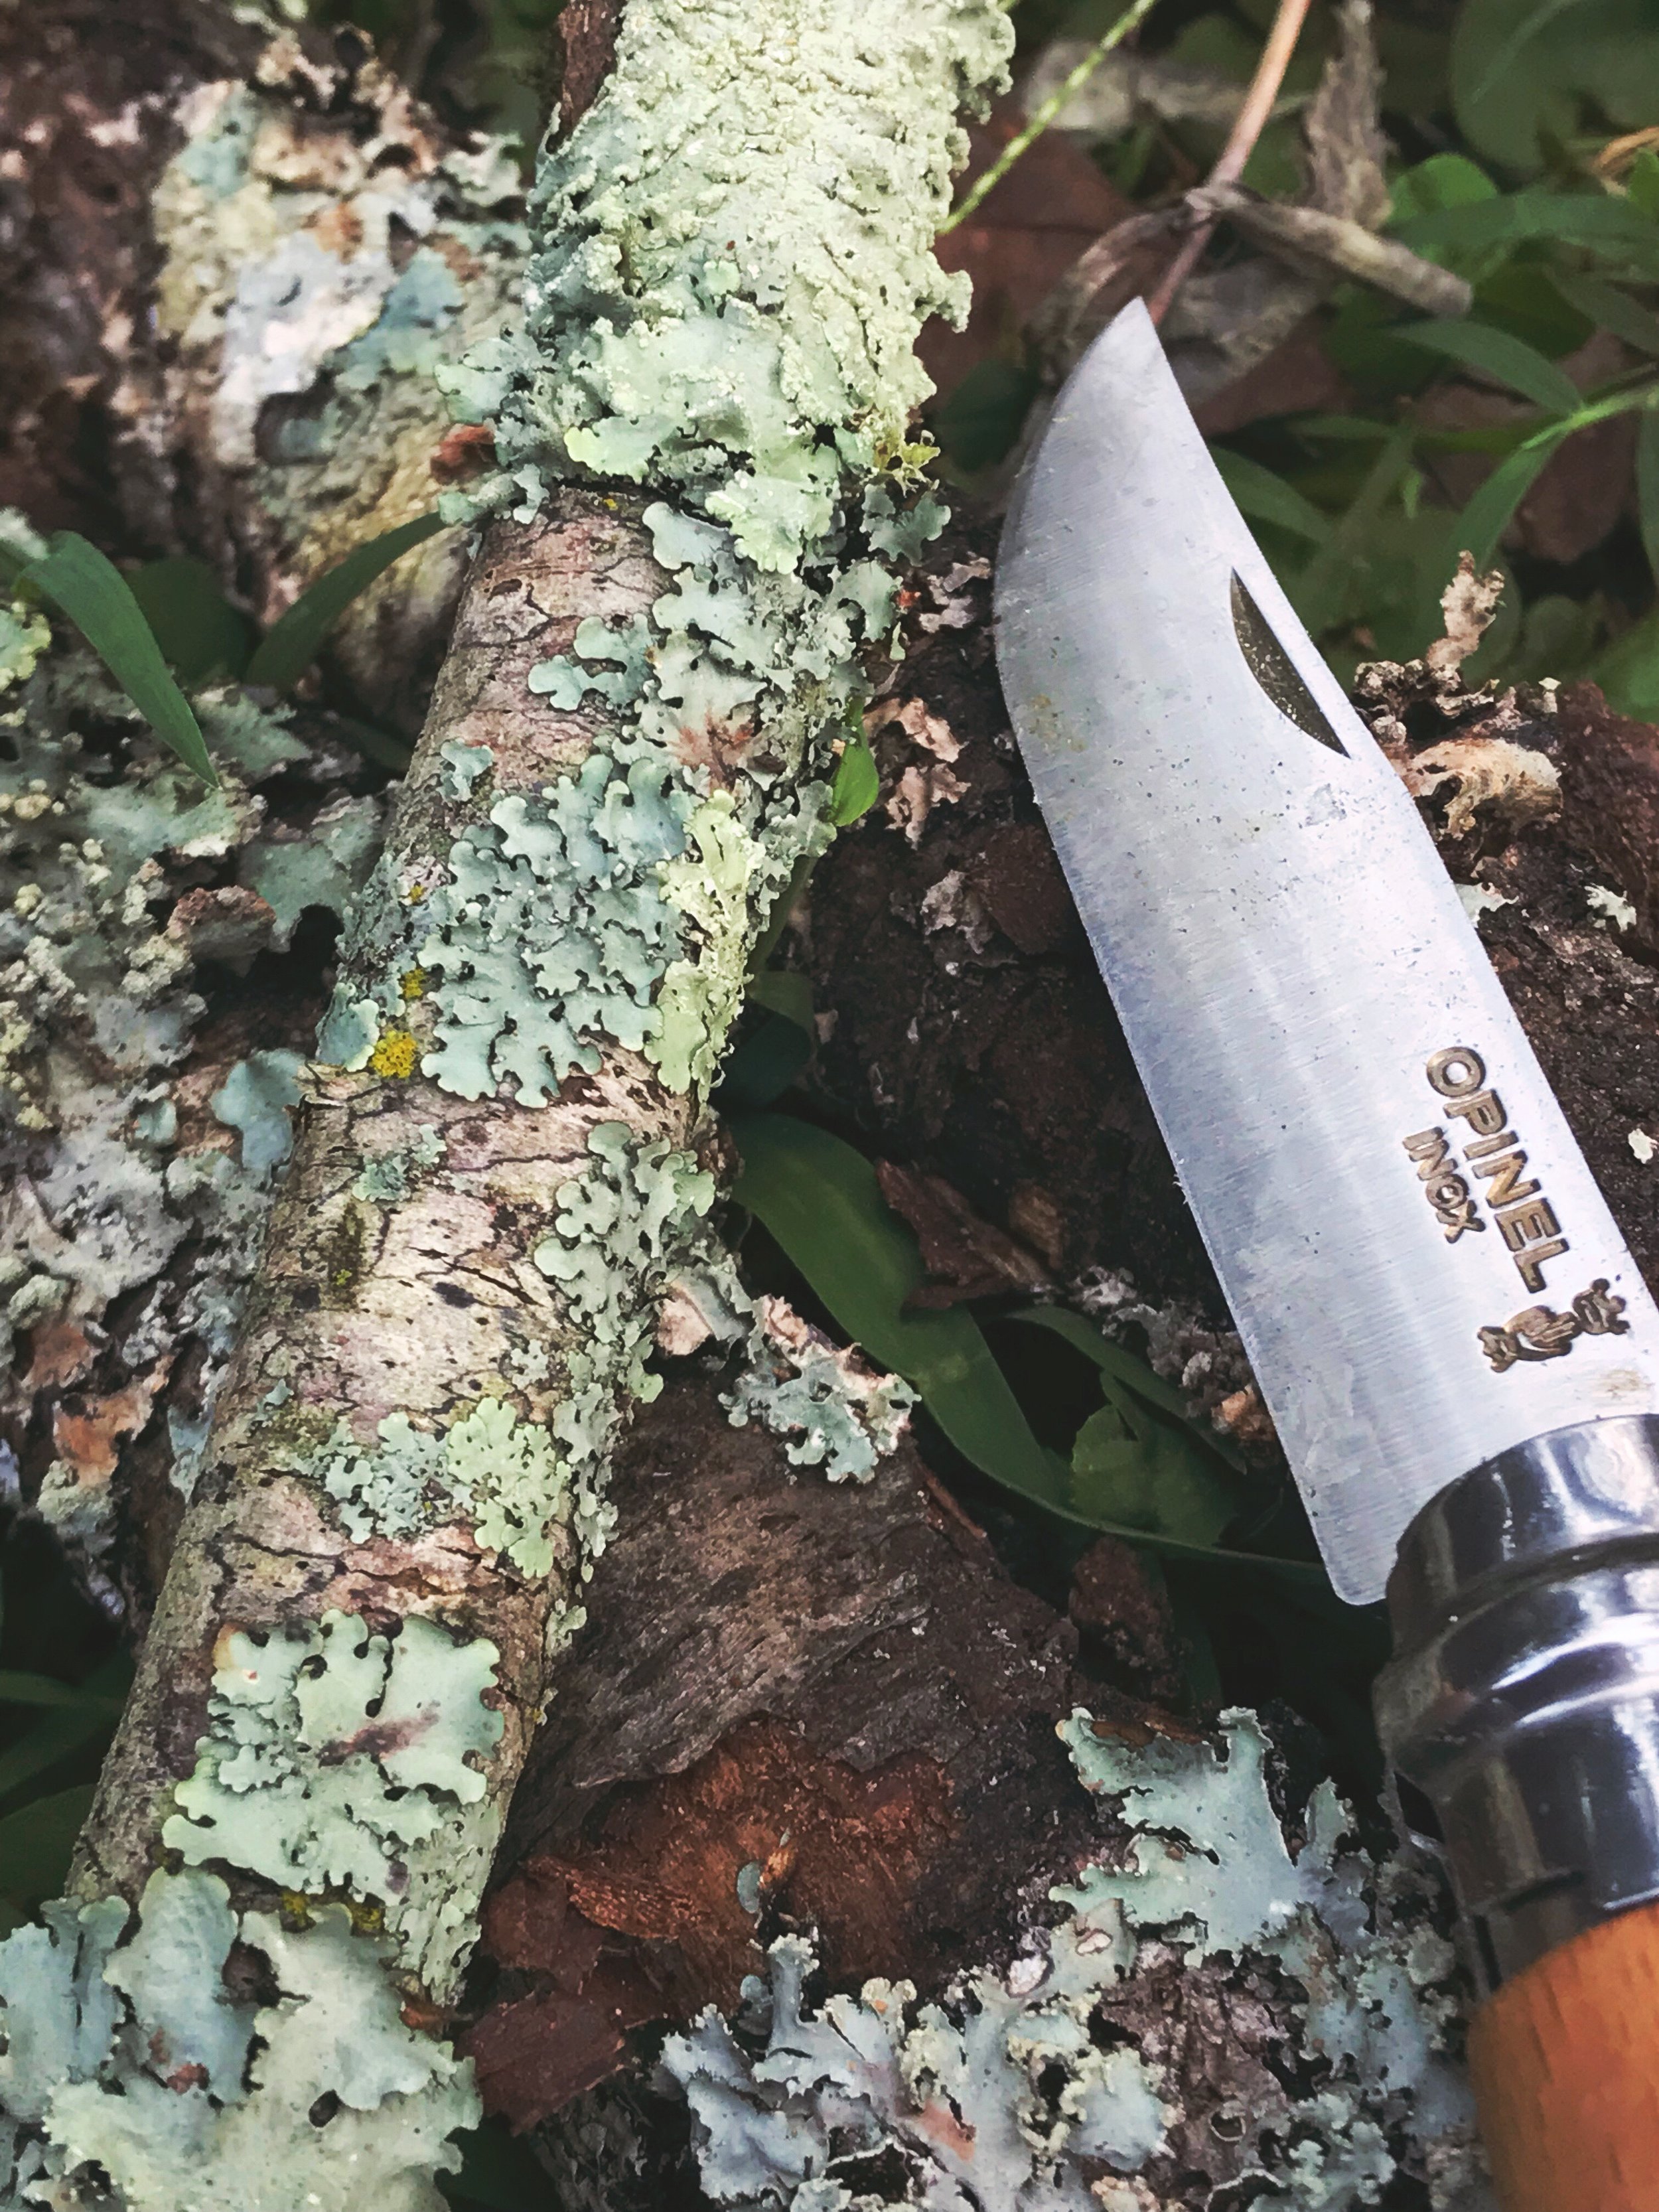
As the days grow longer and the garden thrives, I find myself collecting an array of materials from the bounty of nature. Leaves, flowers, and even the occasional unexpected find, like berries or bark, all become potential sources of color. Each piece holds the promise of transforming my creations into something truly unique.
In these months of abundance, my focus shifts from creating art directly to preparing for it. I gather these treasures and begin the intricate process of preserving their colors. Jars and containers fill with petals, roots, and leaves, all patiently waiting for their moment to shine. It's a delicate dance, knowing that these vibrant hues will brighten the colder, darker days to come.
As Summer gradually gives way to Fall, I feel a sense of anticipation building. The once-bustling garden begins to slow down, and I can finally devote more time to my craft. With the arrival of crisp mornings and cozy evenings, I'm reminded of the beauty that lies ahead.
The dye cauldrons, long dormant during the summer, are now awakened. They simmer with the rich, preserved colors of the season. It's a bit like brewing a magical potion, as I carefully combine the elements I've gathered over the months. With each stir, the cauldron reveals its secrets, releasing vibrant hues that dance and meld together.
Slowly but surely, the yarns and fabrics come to life. I dip them into the cauldron, watching as they absorb the essence of the natural world. The colors are deep and nuanced, a reflection of the ever-changing landscape that surrounds me.
As I work, I can't help but smile, knowing that these creations will bring warmth and beauty to the cold days of Winter. Each piece tells a story of Summer's abundance and the magic of nature. It's a reminder that even in the busiest of times, our creative passions can find a way to flourish, just like the vibrant hues that emerge from my dye cauldron.
So, as the seasons turn and Summer's hustle and bustle fade into memory, I embrace the serenity of Fall and the promise of Winter. My homestead may be a flurry of activity, but in the quiet moments by the dye cauldron, I find solace and inspiration, weaving the beauty of nature into every thread and fabric.